Openshift v4
The ezto auth's Openshift v4 social provider will enable your users via their trusted Openshift v4 Account.
Make sure to create a Openshift v4 account before you begin.
1 Go to Dashboard > Authentication > Social.
2 Click on + CREATE CONNECTION.
3 You will be redirected to the social connection providers page, where you can view all the available providers.
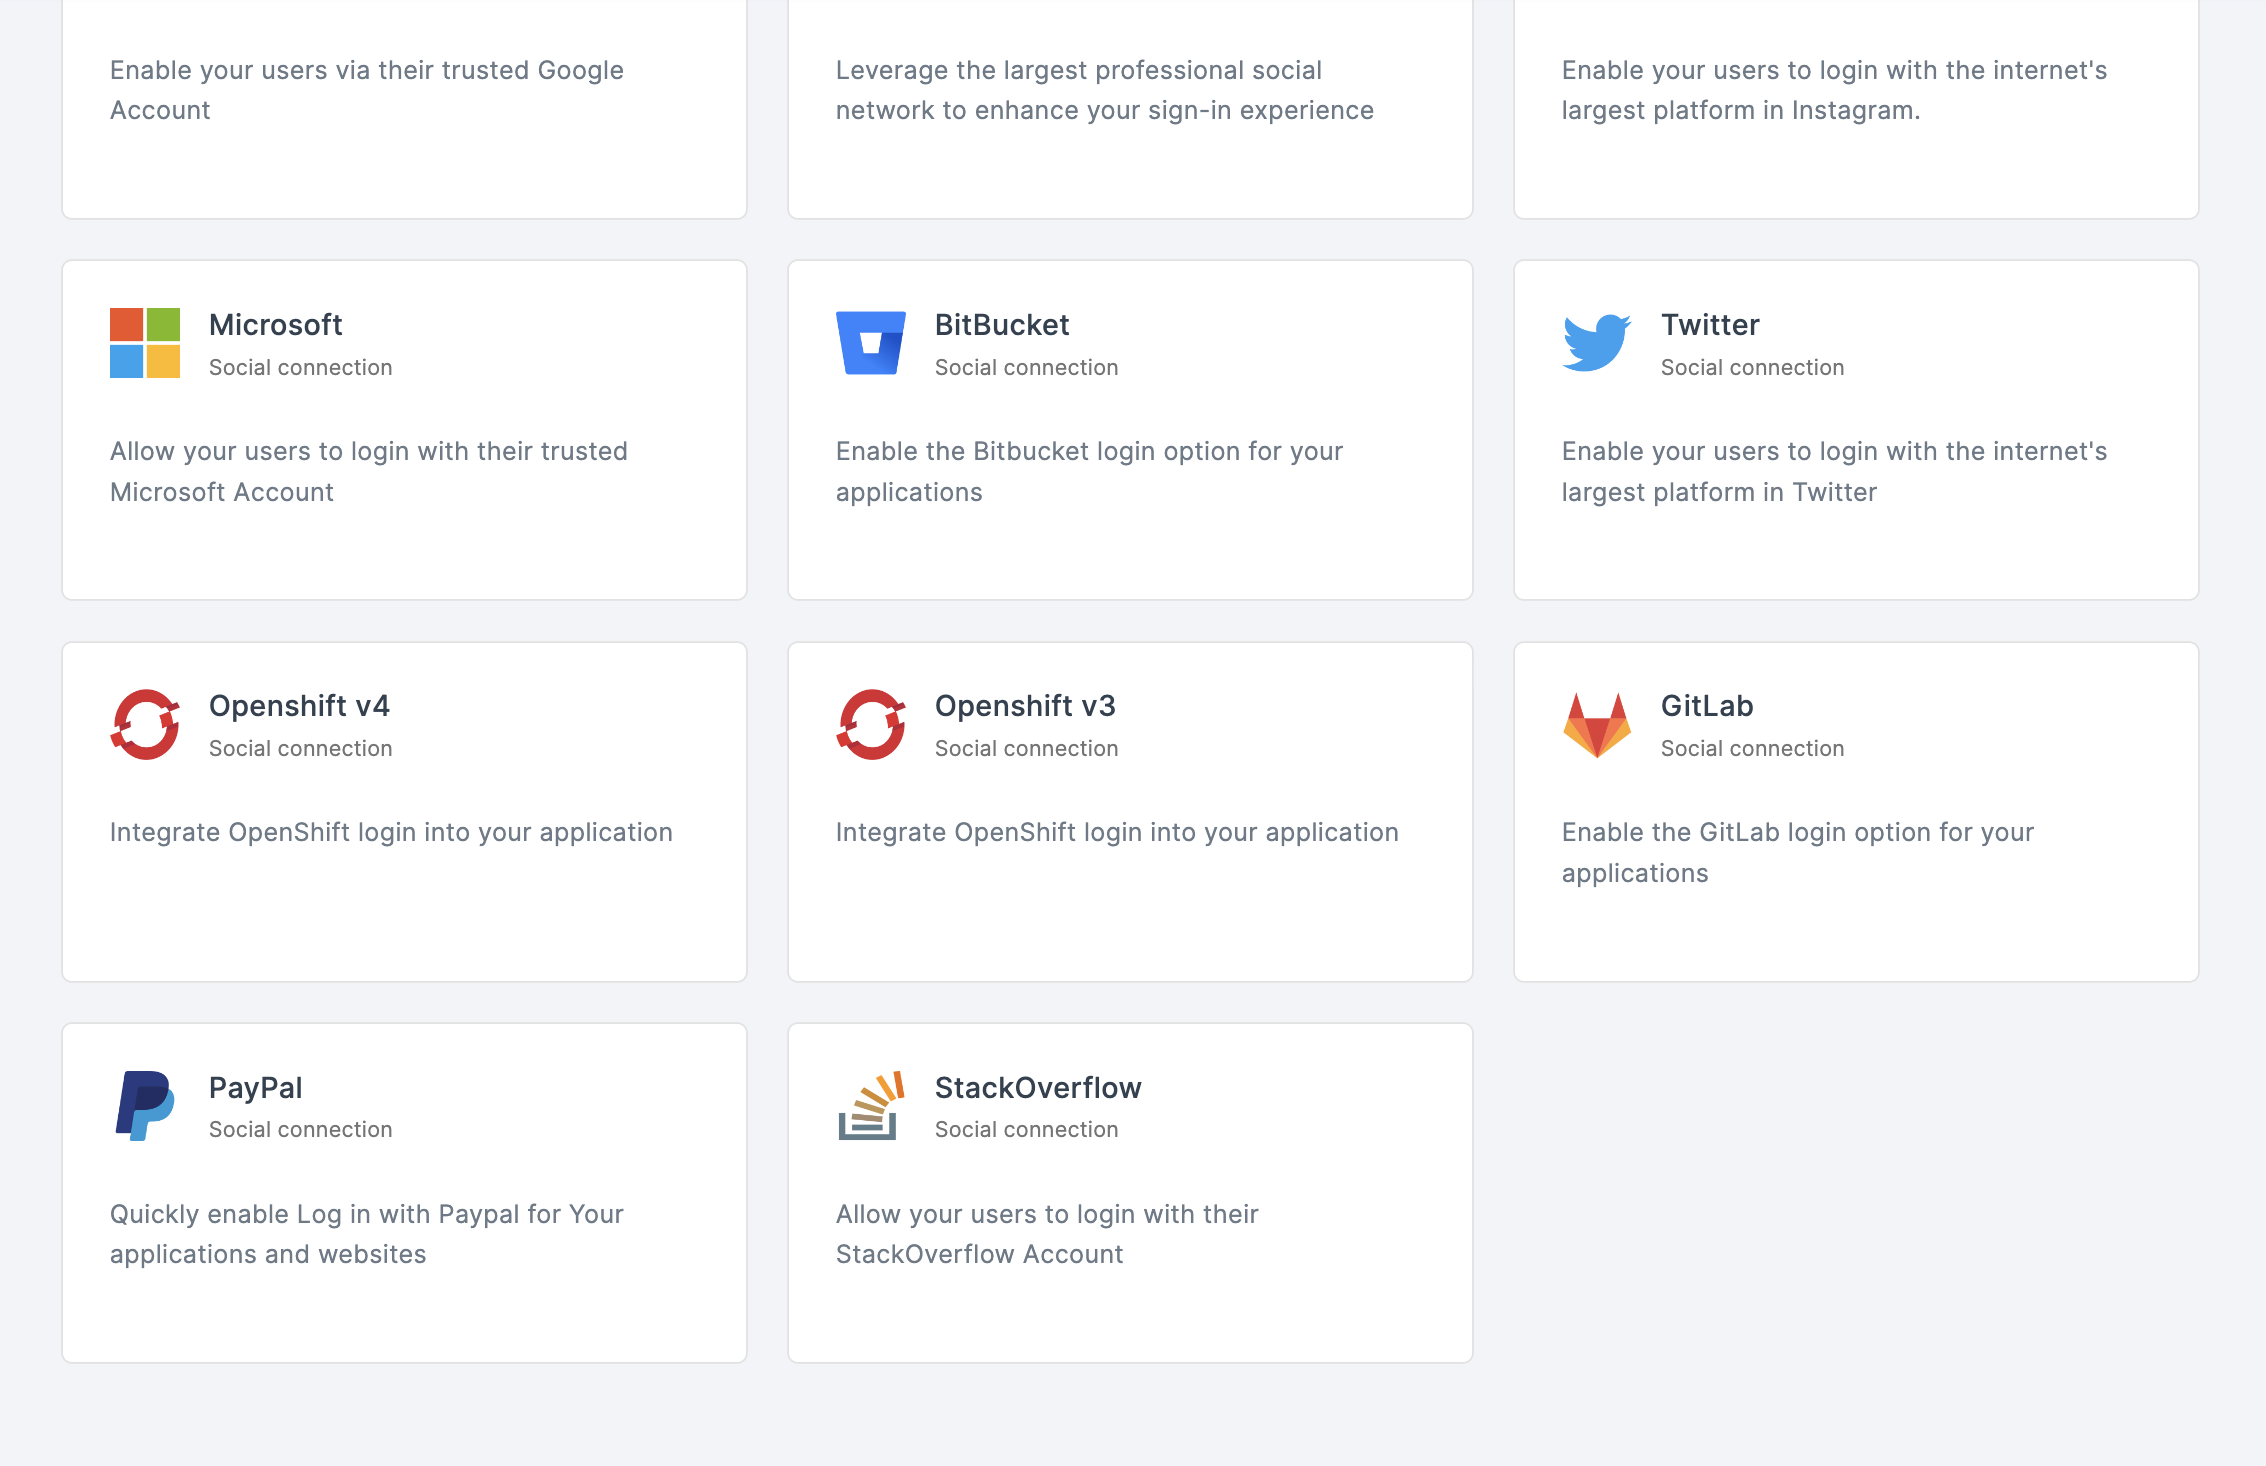
4 Click on Openshift v4.
5 You will be directed to the configuration page for the chosen social connection method.
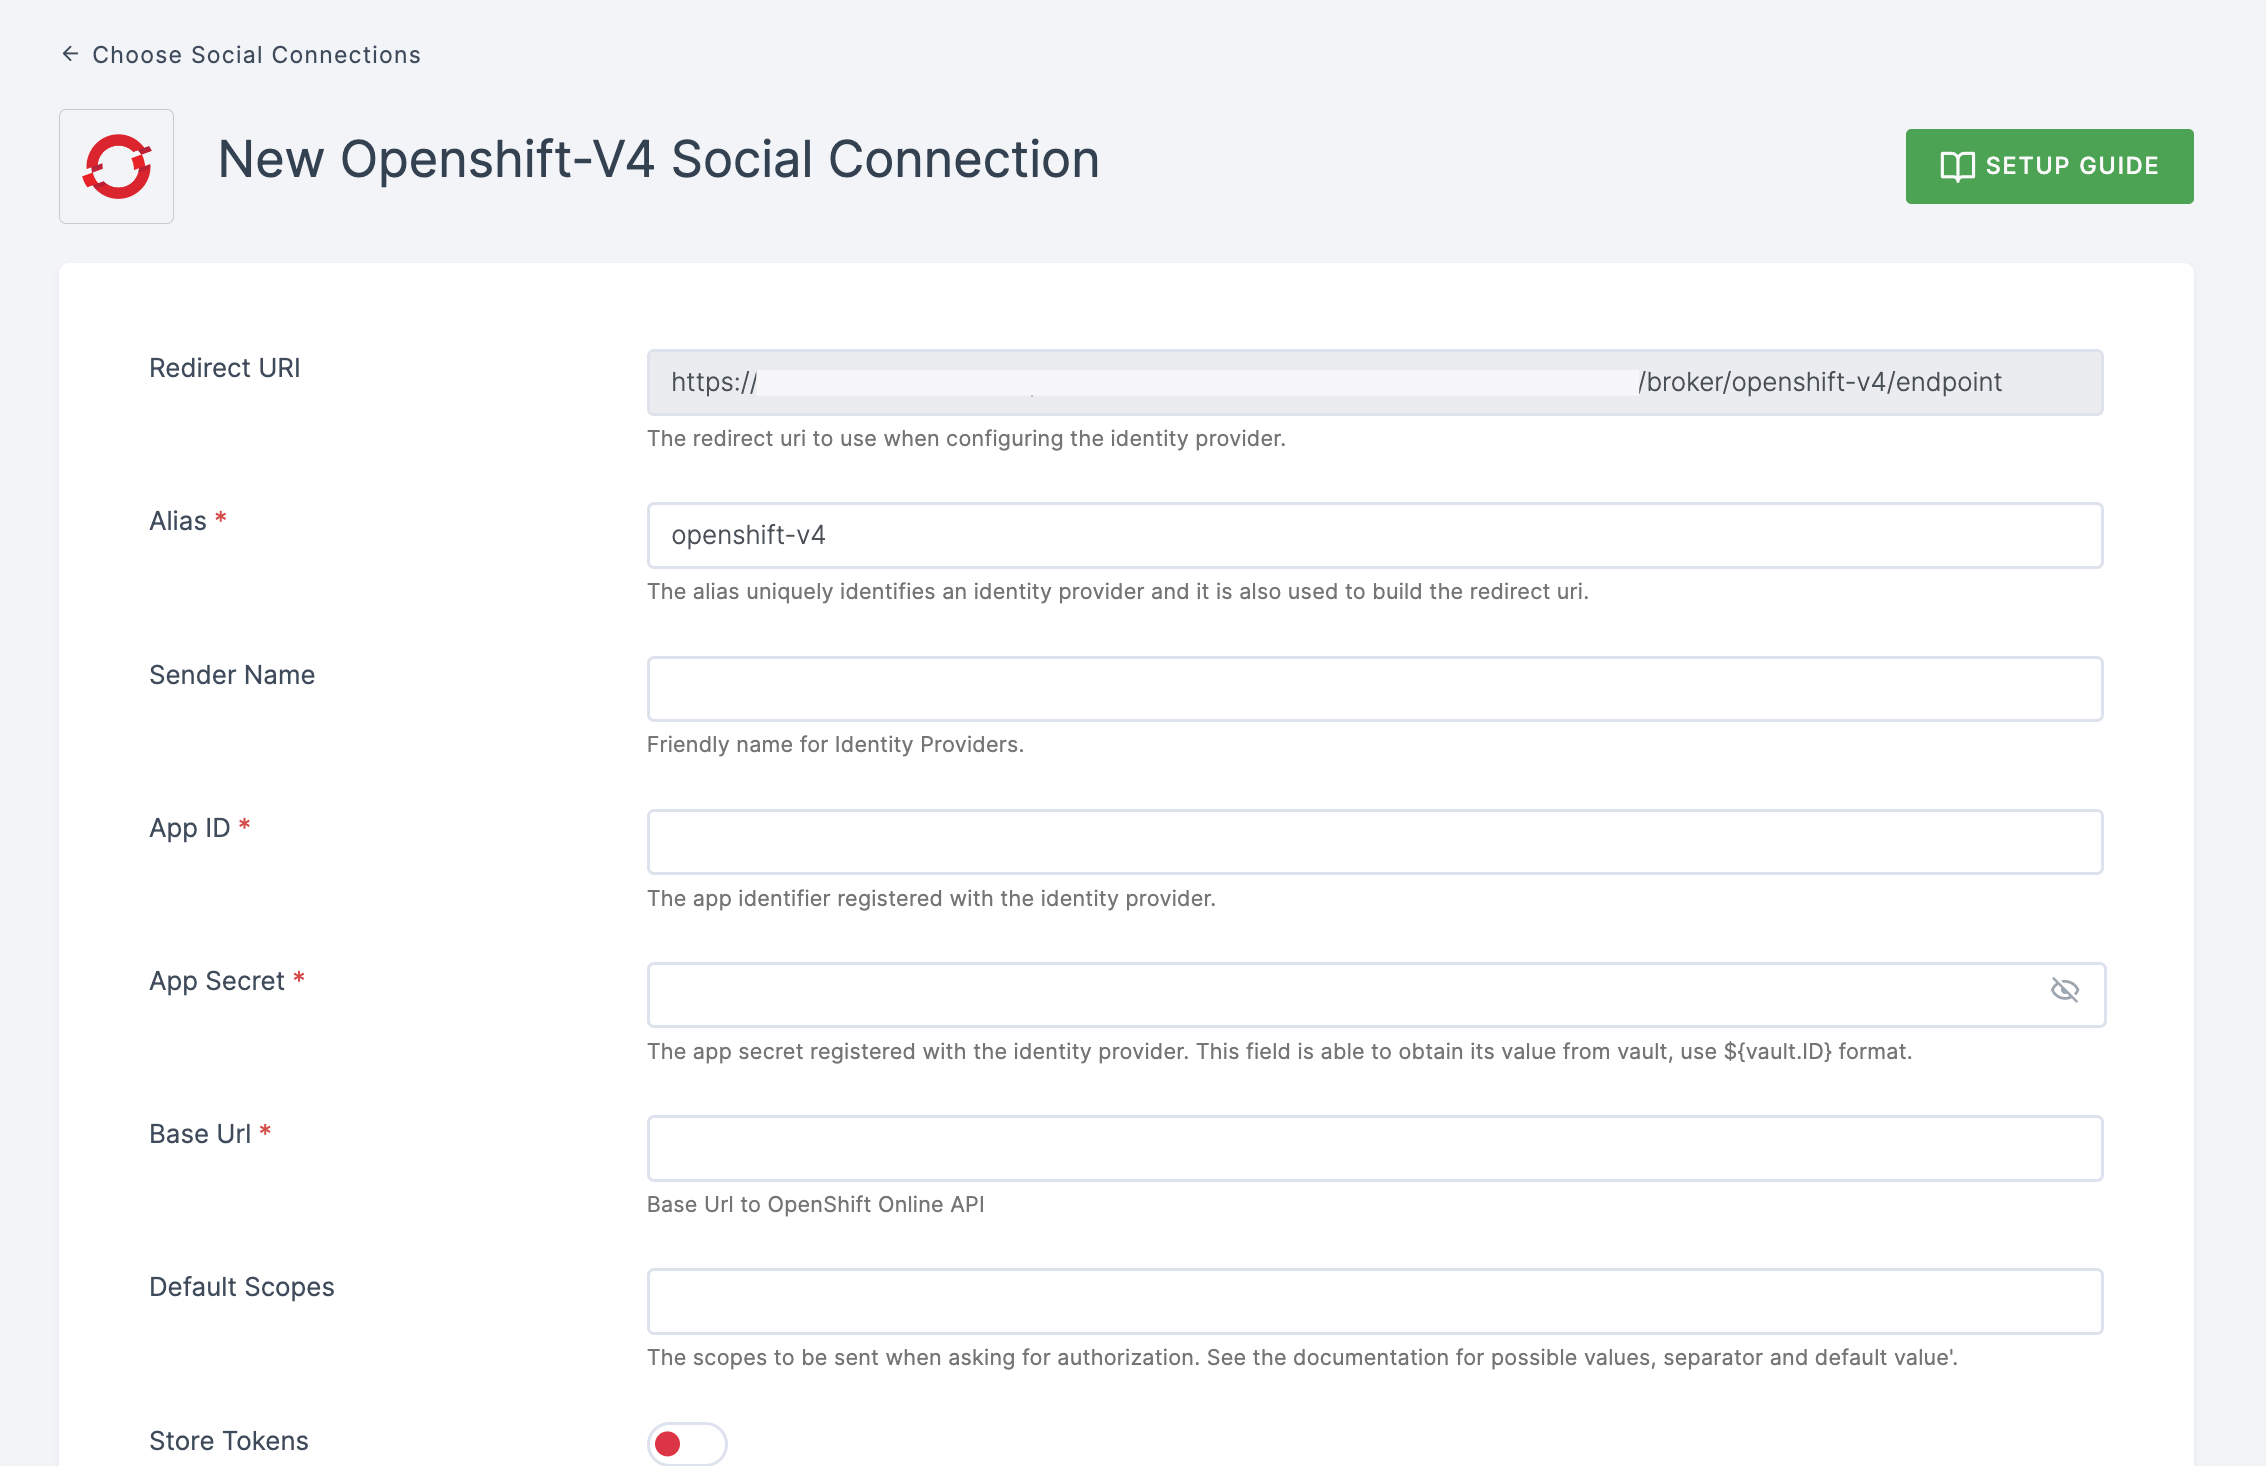
6 To enable Openshift v4 login, you must first complete a series of tasks.
Go to Identity Providers and choose OpenShift v4 from the list. This will take you to the page where you add a new identity provider.
Use the OC command line tool to register your client.
create -f <(echo ' kind: OAuthClient apiVersion: v1 metadata: name: ezto auth-broker secret: "..." redirectURIs:

"<copy pasted Redirect URI from OpenShift 4 Identity Providers page>" grantMethod: prompt ') `
- The name of the OAuth client When making requests to
<openshift_master>/oauth/authorizeand<openshift_master>/oauth/token, this is passed as the client id request parameter.
The client secret parameter is required in the request.
In requests to
<openshift_master>/oauth/authorizeand<openshift_master>/oauth/token, the redirect url parameter must be identical to (or preceded by) one of the URIs in redirect URIs.Copying and pasting it from your dashboard's OpenShift v4 Identity Provider social connection setup page is the simplest method to set it up correctly (Redirect URI field).
When the client requests tokens has not yet been given access by the user, the Grant method is utilized to determines action to be taken.
- Through the OC create command, the Client ID and Client Secret will be generated.
7 Return to your dashboard, paste the Client ID in App ID and Client Secret in App Secret.
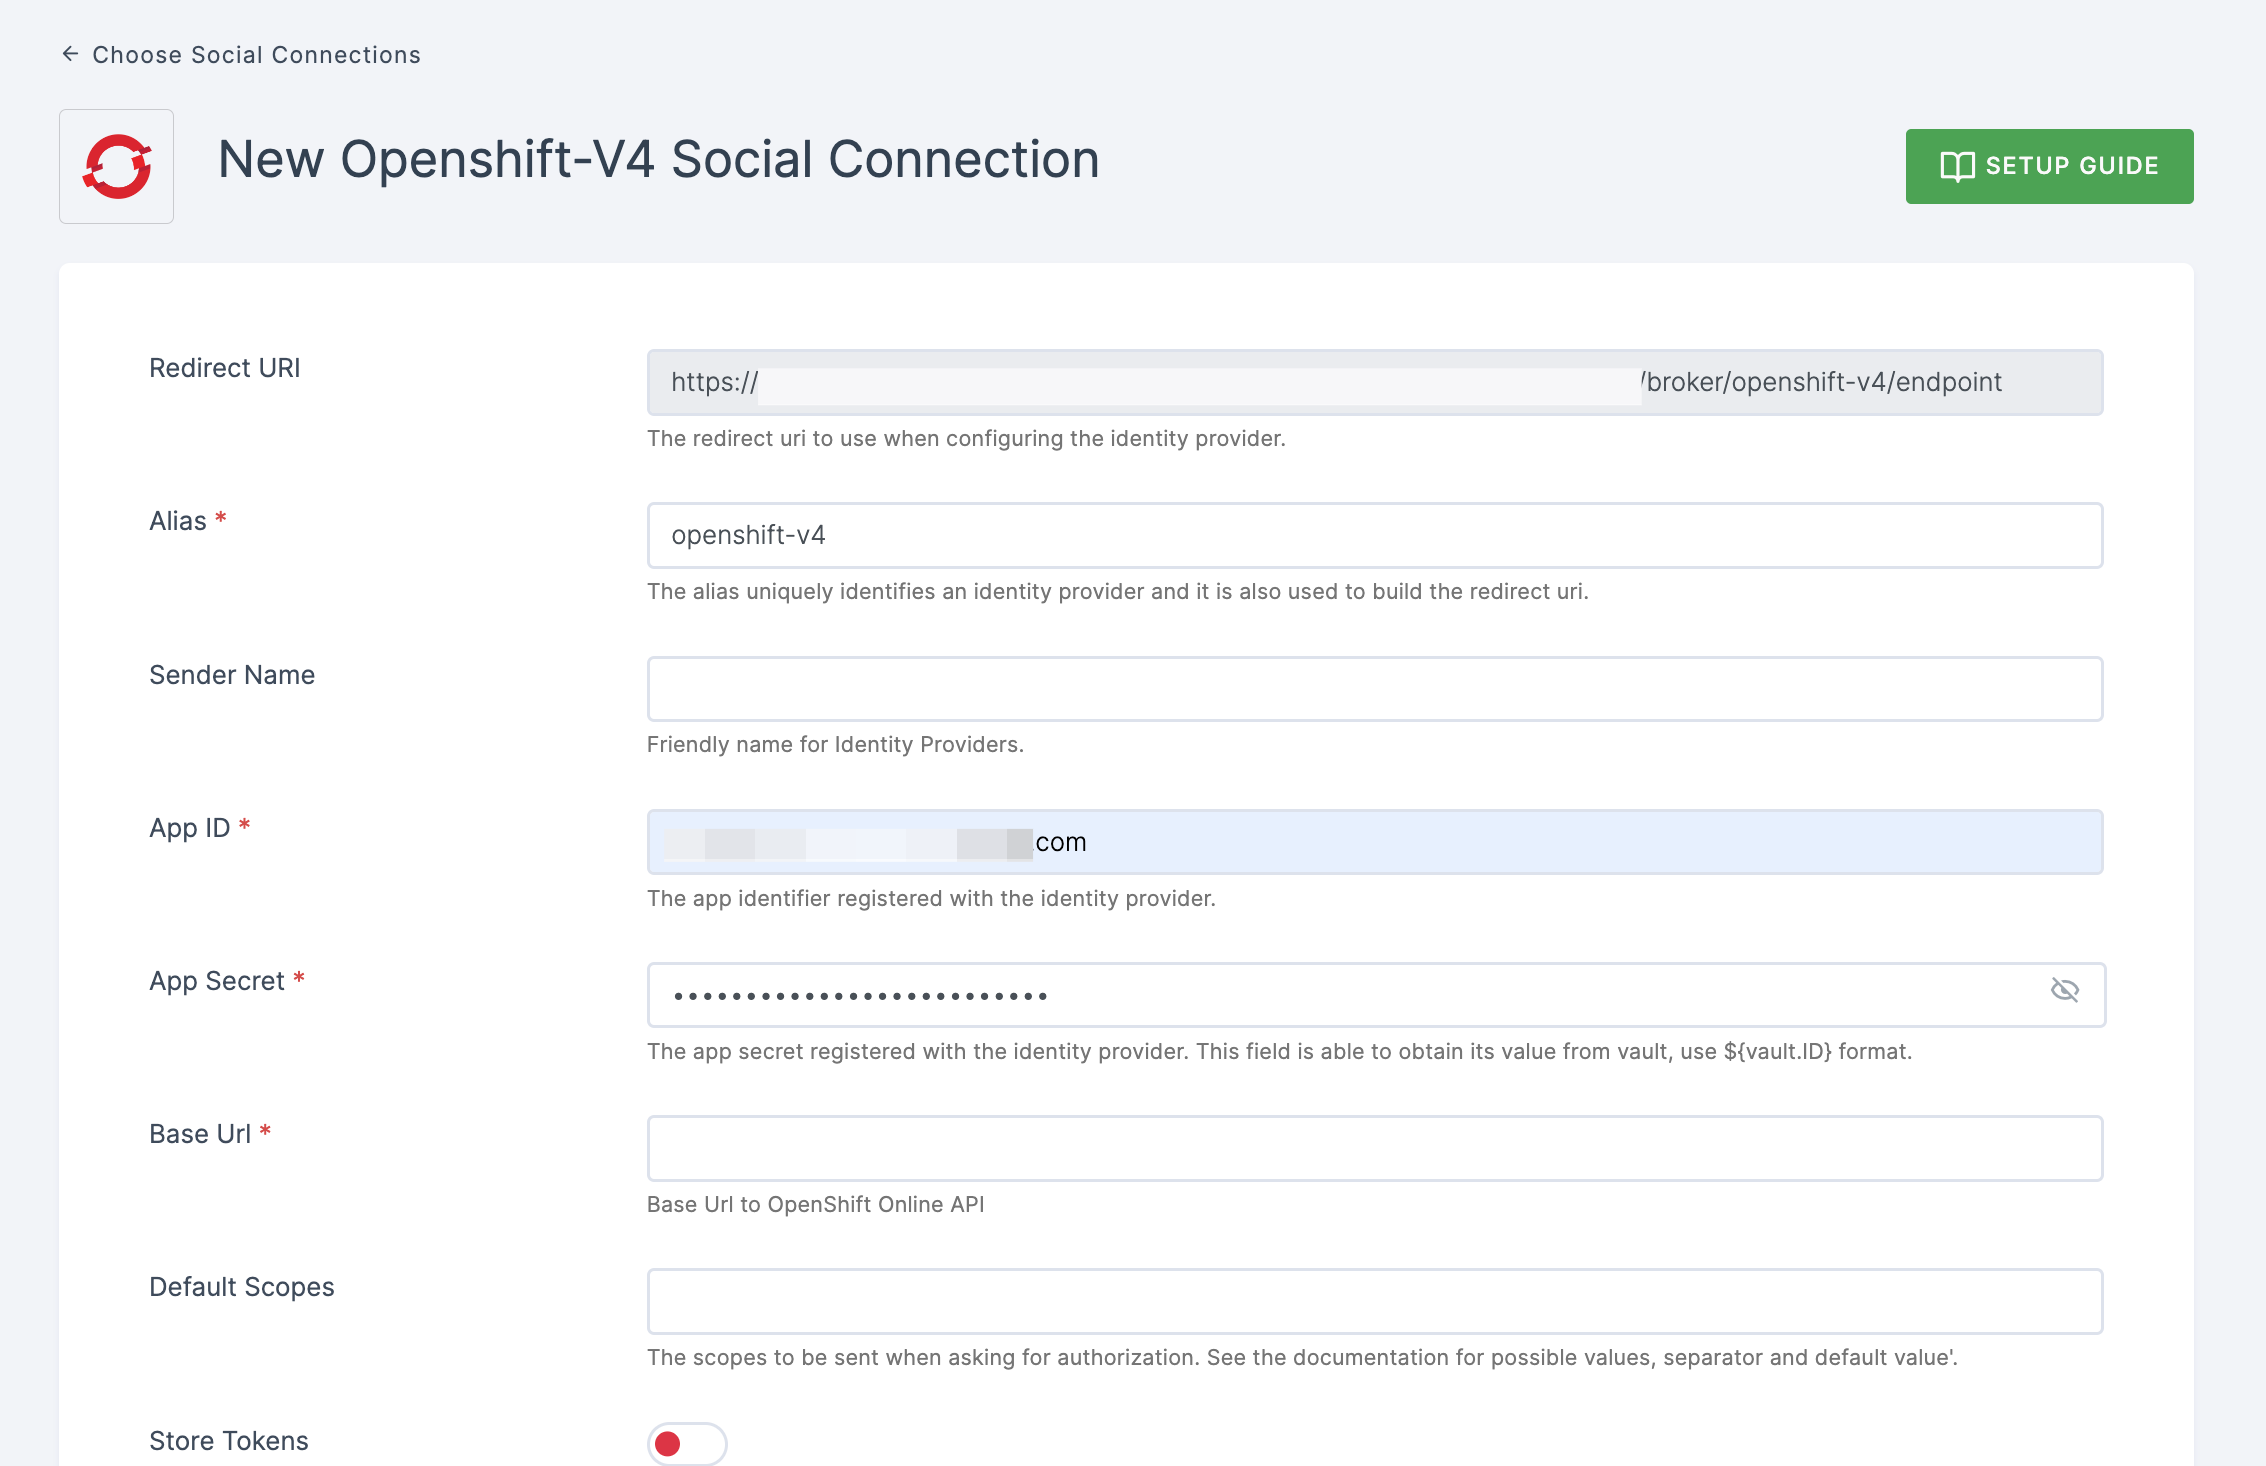
8 Configure the other required specification, click on SAVE.